
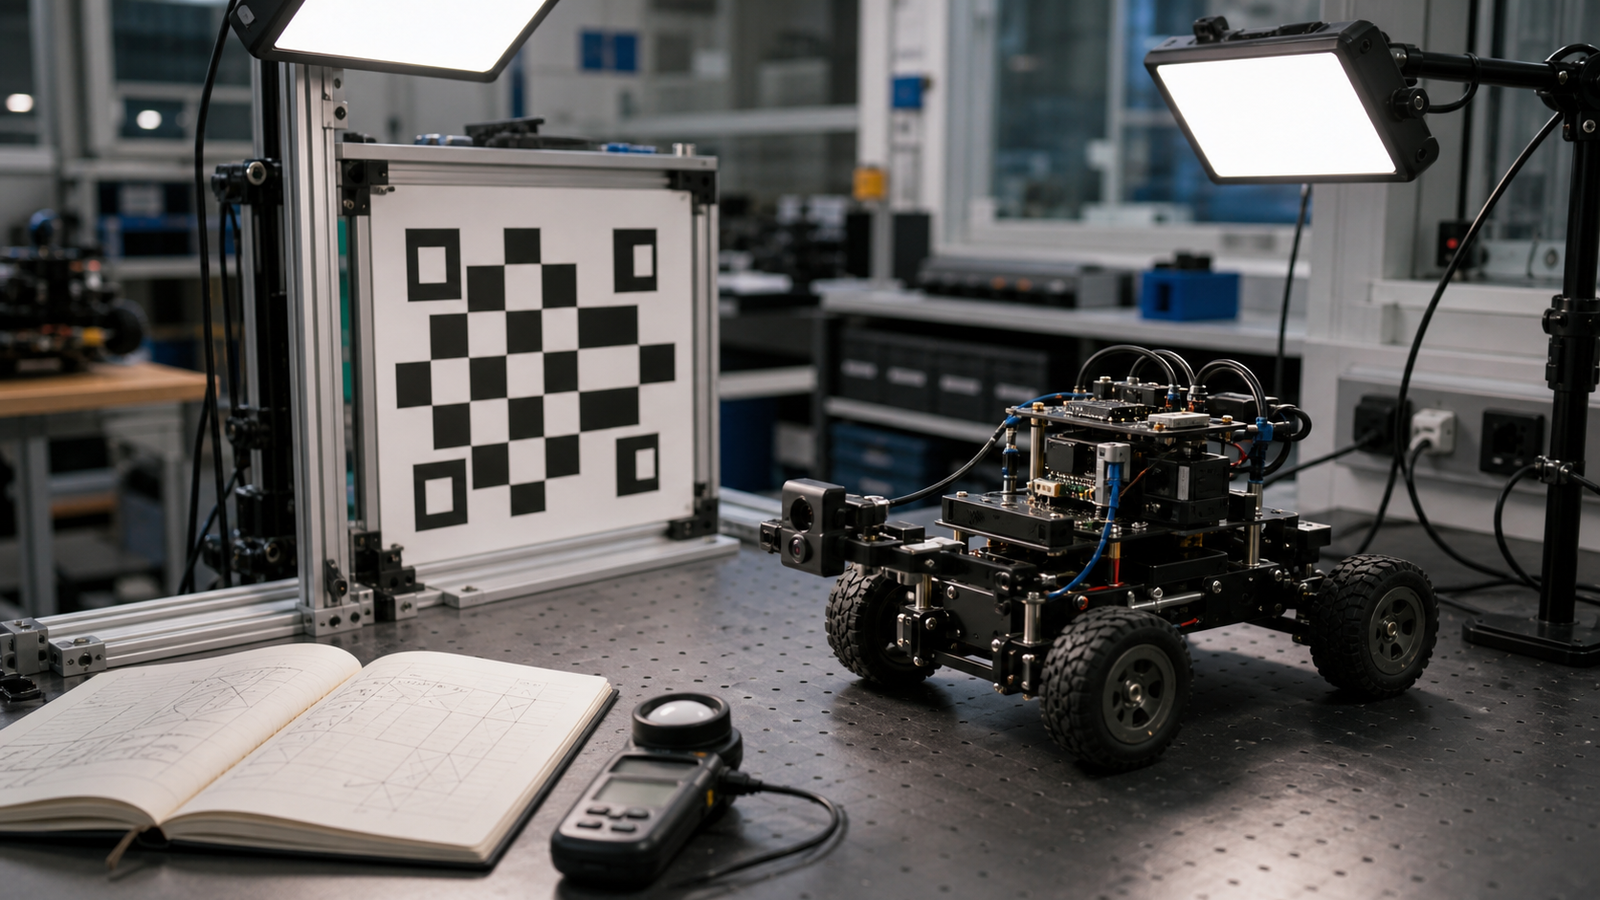
When a robot vision project fails, students often blame the model first. Sometimes the model is the problem. Often the camera is simply seeing a different world than the one used during setup: glare on the floor, shadows across a target, automatic exposure hunting, LED flicker, motion blur, or a camera mount that moved after calibration.
OpenCV’s camera-calibration tutorial and FIRST Tech Challenge’s AprilTag calibration guidance both point to a larger lesson: the camera is a measurement device. If lighting and calibration conditions are unstable, debugging the model becomes guesswork.
Quick answer
Before changing the model, test robot camera lighting with a fixed target, fixed camera mount, repeatable exposure, glare check, shadow check, frame-rate check, and a short failure log. Treat lighting changes as test variables.
Why lighting breaks robot vision
Vision systems depend on contrast, edges, texture, color, and geometry. A calibration target that looks clean under one lamp may be washed out near a window. A glossy floor can create false highlights. A moving robot can blur a target that looked sharp when the robot was parked. Automatic exposure can make two frames from the same camera look like two different datasets.
TVG’s robot camera calibration checklist covers the broader setup. This article narrows the focus to lighting because it is one of the easiest variables to overlook and one of the cheapest to test.
Lighting checklist
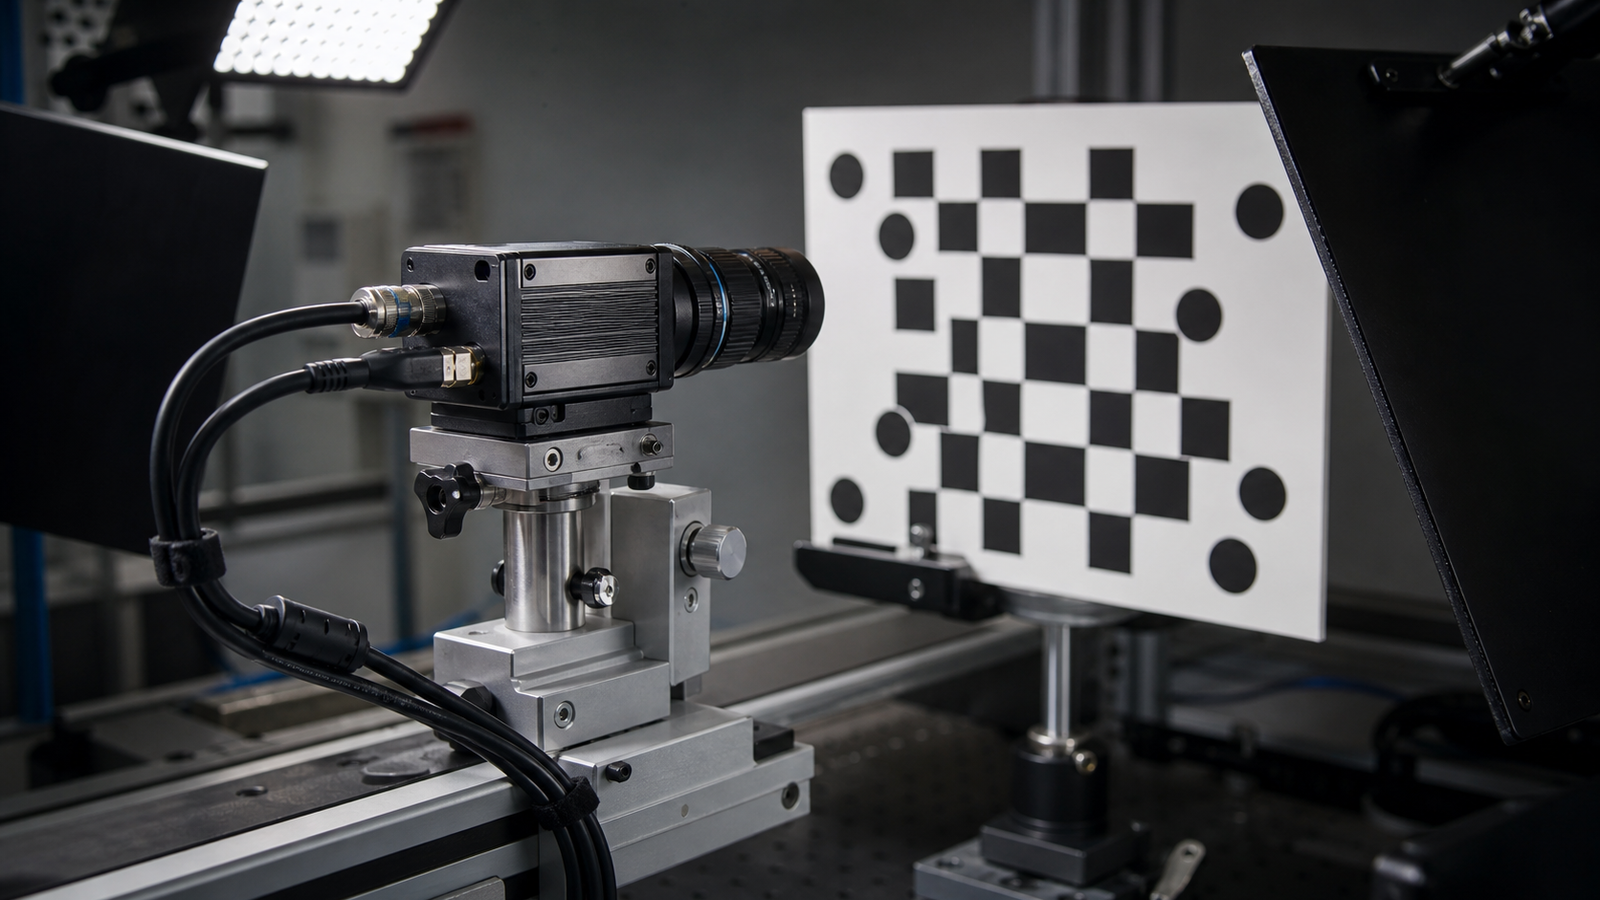
- Lock the camera mount: do not compare lighting results after the camera angle has changed.
- Use a fixed target: start with a calibration board, AprilTag, or known object before testing the full course.
- Check glare: move lights and targets until shiny surfaces stop producing false highlights.
- Check shadows: run the robot path with people nearby, because bodies can block light.
- Record exposure behavior: note whether the camera is using auto exposure or fixed settings.
- Test motion: a still image can pass while moving video fails.
- Log failures: save a few bad frames instead of only successful screenshots.
When to debug the model
Change the model after the image pipeline is repeatable. If lighting, focus, mounting, exposure, and frame rate are still changing, a model update may only hide the real problem for one demo. A small validation set captured under known lighting is more useful than a pile of random images.
TVG Take
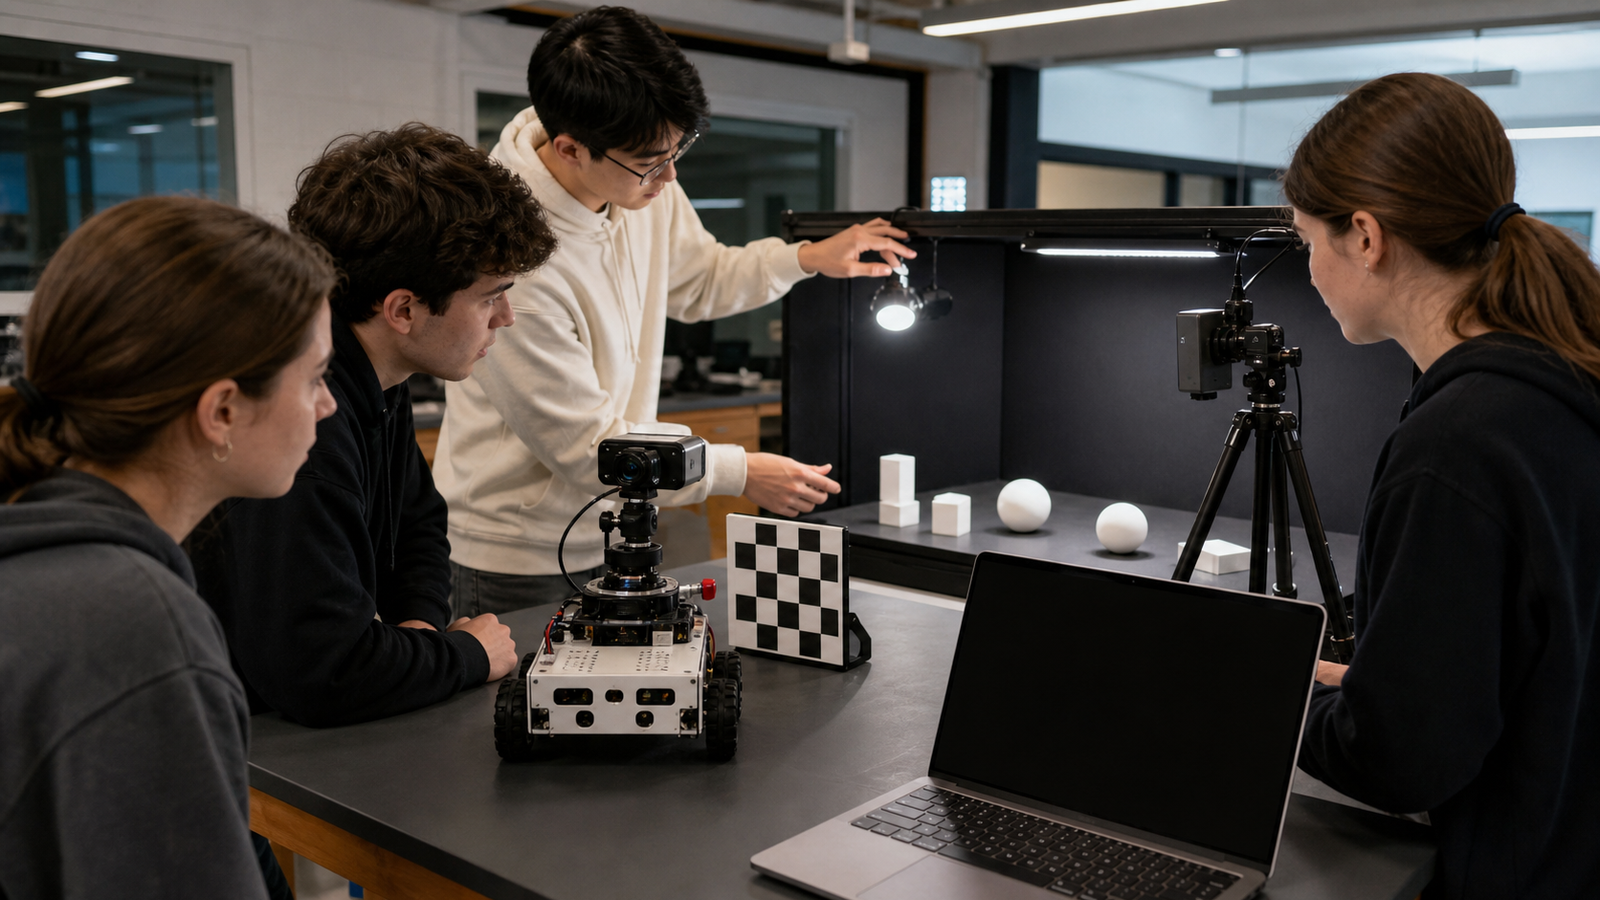
Robot vision is not just AI. It is optics, lighting, mounting, timing, and data discipline. Before students retrain a model or swap libraries, have them prove the camera saw a stable scene. That habit will save hours in robotics, drones, inspection projects, and local-AI classroom demos.
Save bad frames on purpose
A useful classroom vision project keeps a small folder of failures: glare examples, shadow examples, blurred frames, overexposed targets, underexposed corners, and frames where the detector almost worked. Those images are not embarrassing; they are the dataset that explains why the system fails. They also help students separate lighting problems from model problems.
For teams using AprilTags or calibration boards, the same habit applies. Save examples from the actual robot height and field location, not only from the desk. If the robot will operate under gym lights, windows, or glossy floors, the validation set should include those conditions before the model or pose pipeline is blamed.



