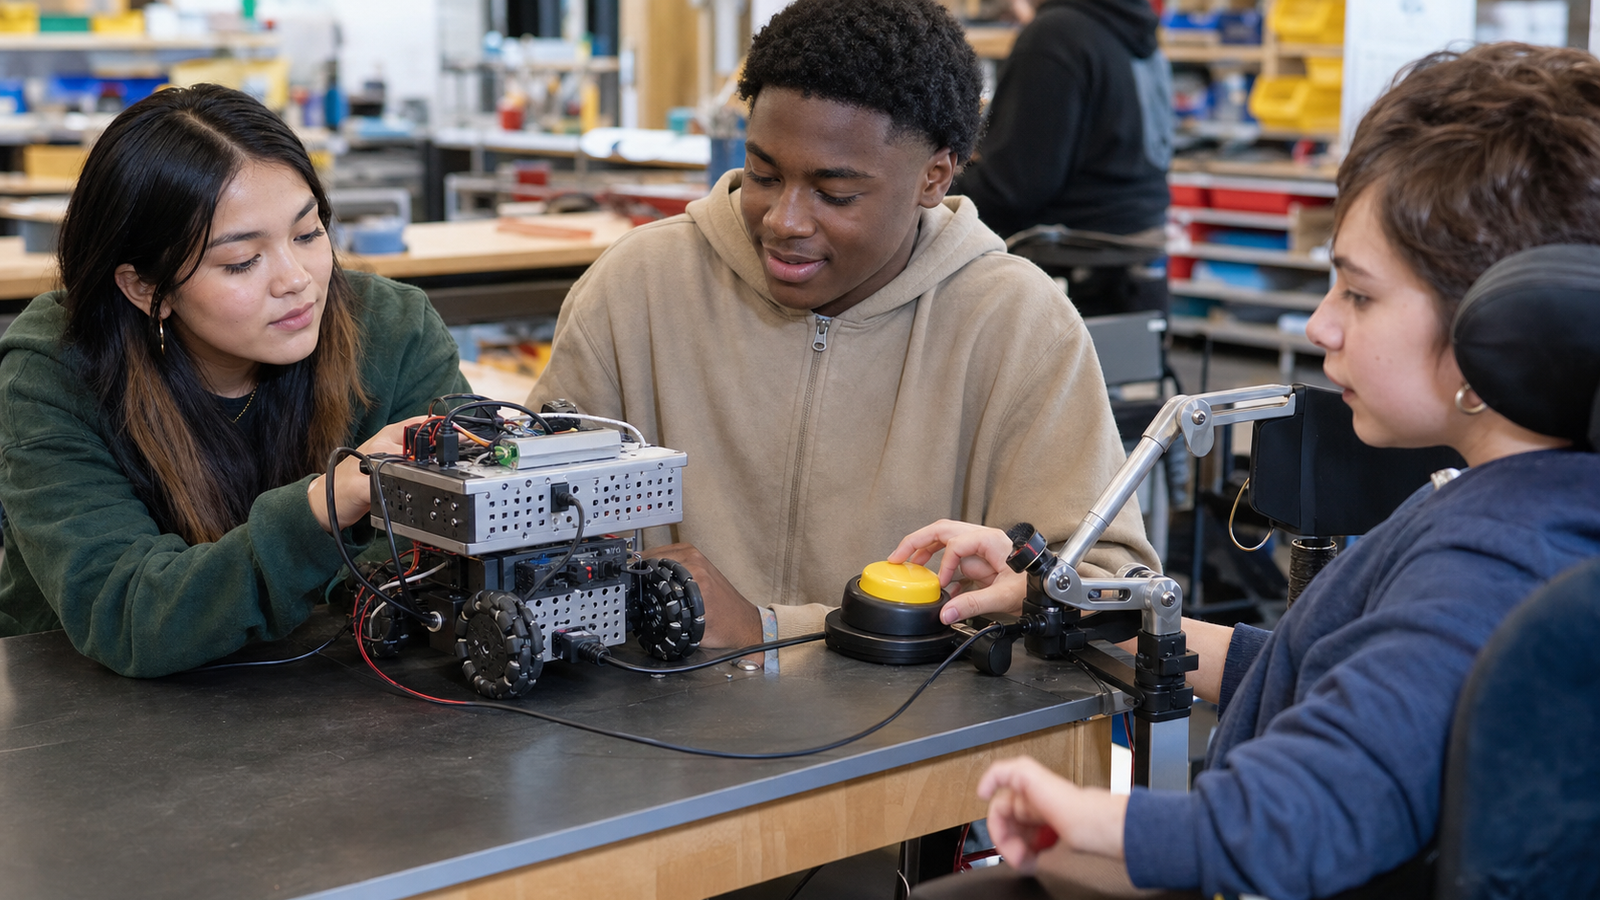
Accessibility switches are often discussed as accommodations. In a classroom robotics lab, they can also be excellent engineering tools. A large button, sip-and-puff interface, head switch, foot switch, or adapted controller turns input design into something students can measure: activation force, mounting angle, debounce timing, response delay, safety lockout, and user fatigue.
That makes accessibility tech a natural TVG topic. It connects inclusive STEM participation with sensors, controls, human factors, and safety. The goal is not to treat accessibility as a side project. The goal is to design robot interfaces that more students can use and more students can understand.
Quick answer
Use accessibility switches in robotics by treating them as primary control inputs, not afterthoughts. Plan the mount, input circuit, debounce logic, timing, fail-safe behavior, and user feedback before putting the robot on a course.
Why this is an engineering lesson
The W3C Web Accessibility Initiative explains accessibility as making products, services, and environments usable by people with disabilities. The web-specific WCAG overview is not a robot-control manual, but its larger lesson applies: access improves when design choices are explicit, testable, and not dependent on a single ideal user.
Robotics makes that visible. If the robot only works for the student who can hold a small joystick in one exact posture, the control system is narrower than it needs to be. If the input can be remapped to switches, scanning menus, timed commands, or larger controls, the class can talk about interface design as part of the build.
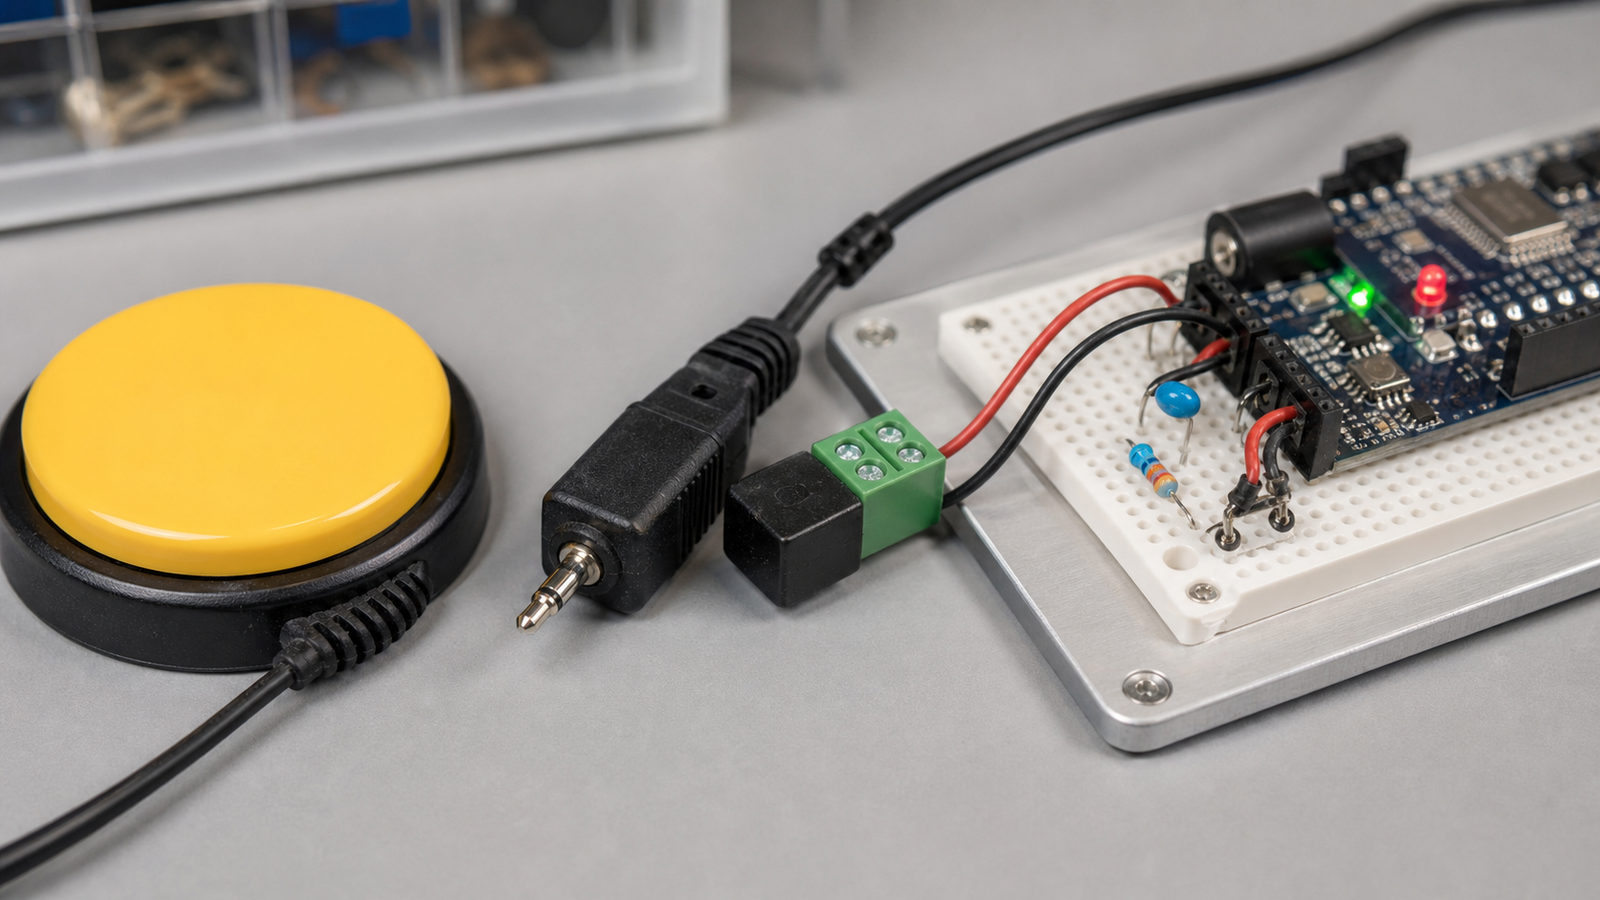
Checklist for a switch-controlled robot
- Mounting: place the switch where the user can activate it repeatedly without strain.
- Electrical interface: use safe low-voltage inputs and proper connectors or adapters.
- Debounce: filter mechanical switch noise so one press does not become many commands.
- Timing: decide whether a short press, long press, or repeated press means different actions.
- Feedback: provide visible or audible confirmation that the command was received.
- Safety: include a stop behavior and keep classroom robot speeds appropriate.
- Documentation: record the control map so another student can reproduce the setup.
Where teams can start
A simple project is a two-switch robot: one switch advances through commands and one confirms the selected command. Another is a timed driving activity where one large switch starts a movement and a second switch stops it. A more advanced project can compare debounce strategies by logging raw input transitions and filtered commands.
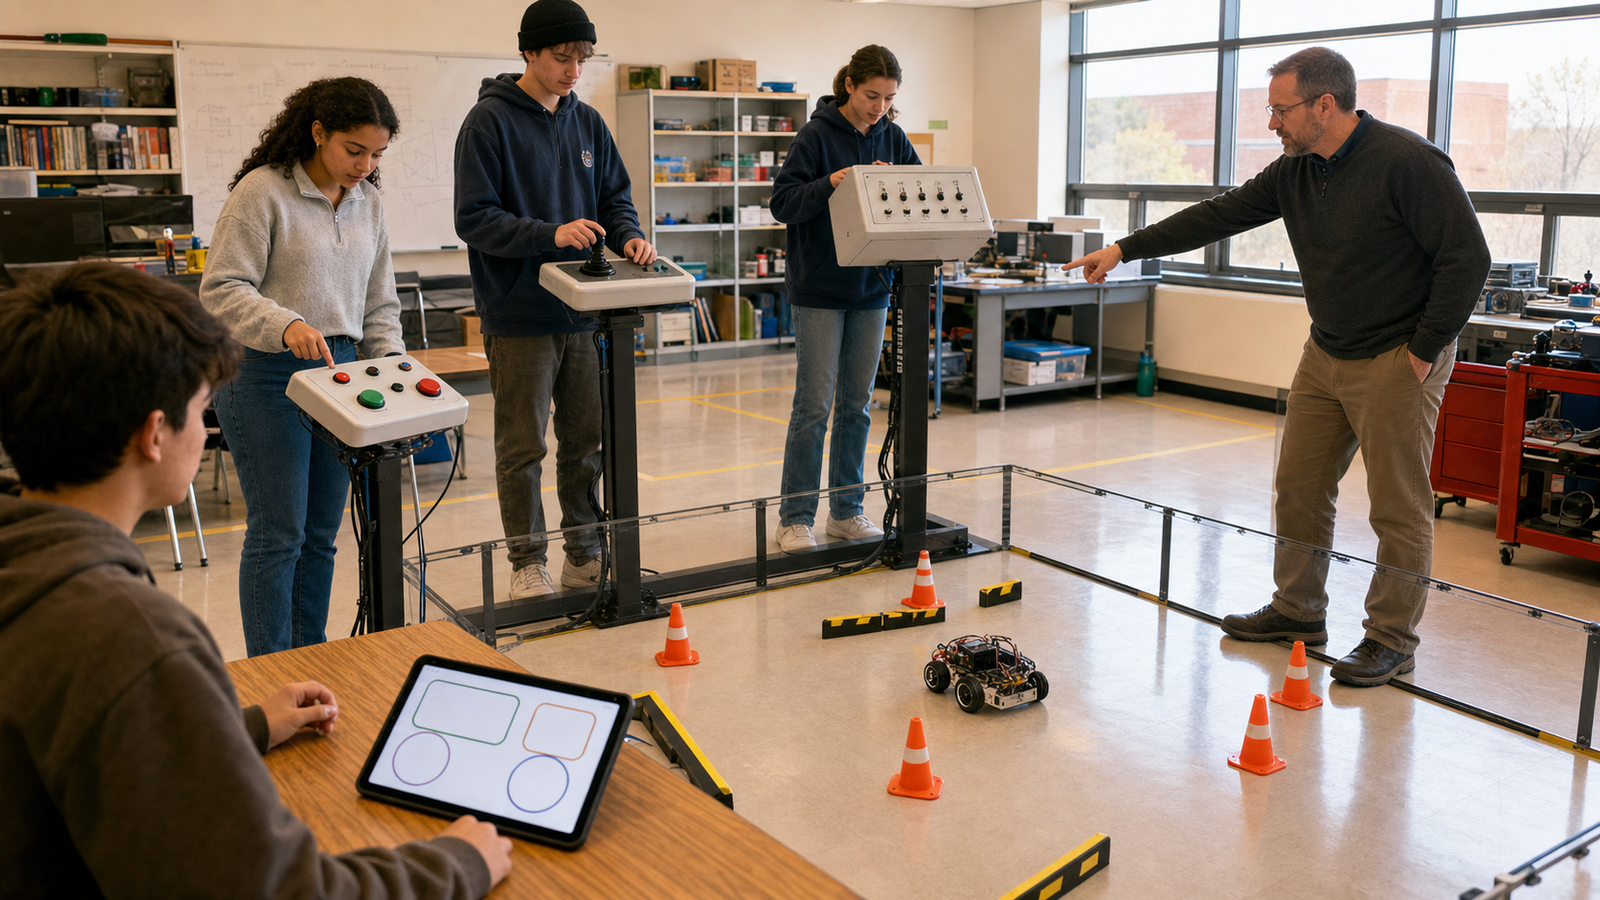
TVG’s school robot safety guide is relevant here because accessibility should not reduce safety. The more flexible the control interface becomes, the more important it is to define a stop path and test it before demonstrations.
TVG Take
Accessibility switches are not a charity add-on to robotics. They are a serious control-interface challenge that can make STEM labs more inclusive and more rigorous at the same time. If students can design for varied users, measure timing, and document safe behavior, they are learning engineering that transfers beyond the classroom.