
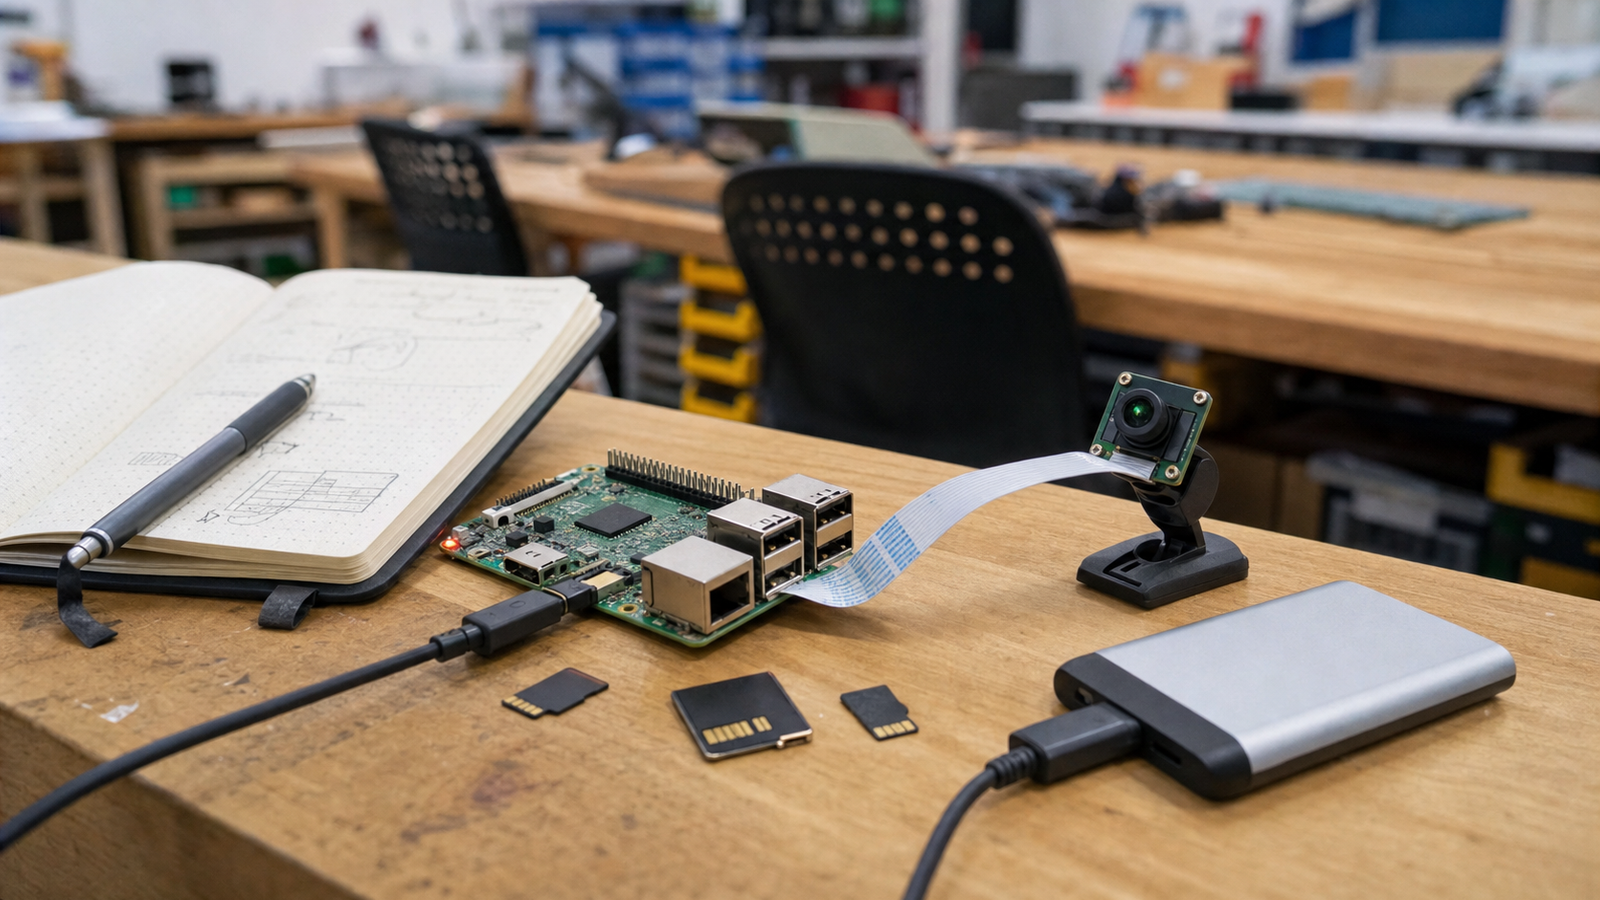
A Raspberry Pi AI project can fail for boring storage reasons. The model is fine, the camera is focused, and the code runs, but the classroom demo still stutters because the card is slow, nearly full, badly imaged, or being asked to handle logs, datasets, packages, and video frames at the same time.
That makes storage a buyer decision, not just an accessory choice. For a STEM lab, the question is whether a microSD card is enough or whether a USB SSD should become part of the standard kit for local AI projects.
Quick answer
Use a quality microSD card for simple lessons, short demos, and easy re-imaging. Move to a USB SSD when the project uses larger datasets, frequent writes, video capture, model experiments, or repeated classroom use where reliability and rebuild time matter.
Why the card label is not the whole story
The SD Association explains Application Performance Classes such as A1 and A2 in terms of random read/write IOPS and sustained sequential performance. That matters because a Raspberry Pi AI project often does many small file operations, not just one big media copy.
A card that is acceptable for a basic boot image may feel slow when students install packages, collect images, write logs, and run local inference experiments. A USB SSD can reduce that friction, but it adds cost, cable management, power considerations, and another device that must be labeled and stored.
When microSD is the right choice
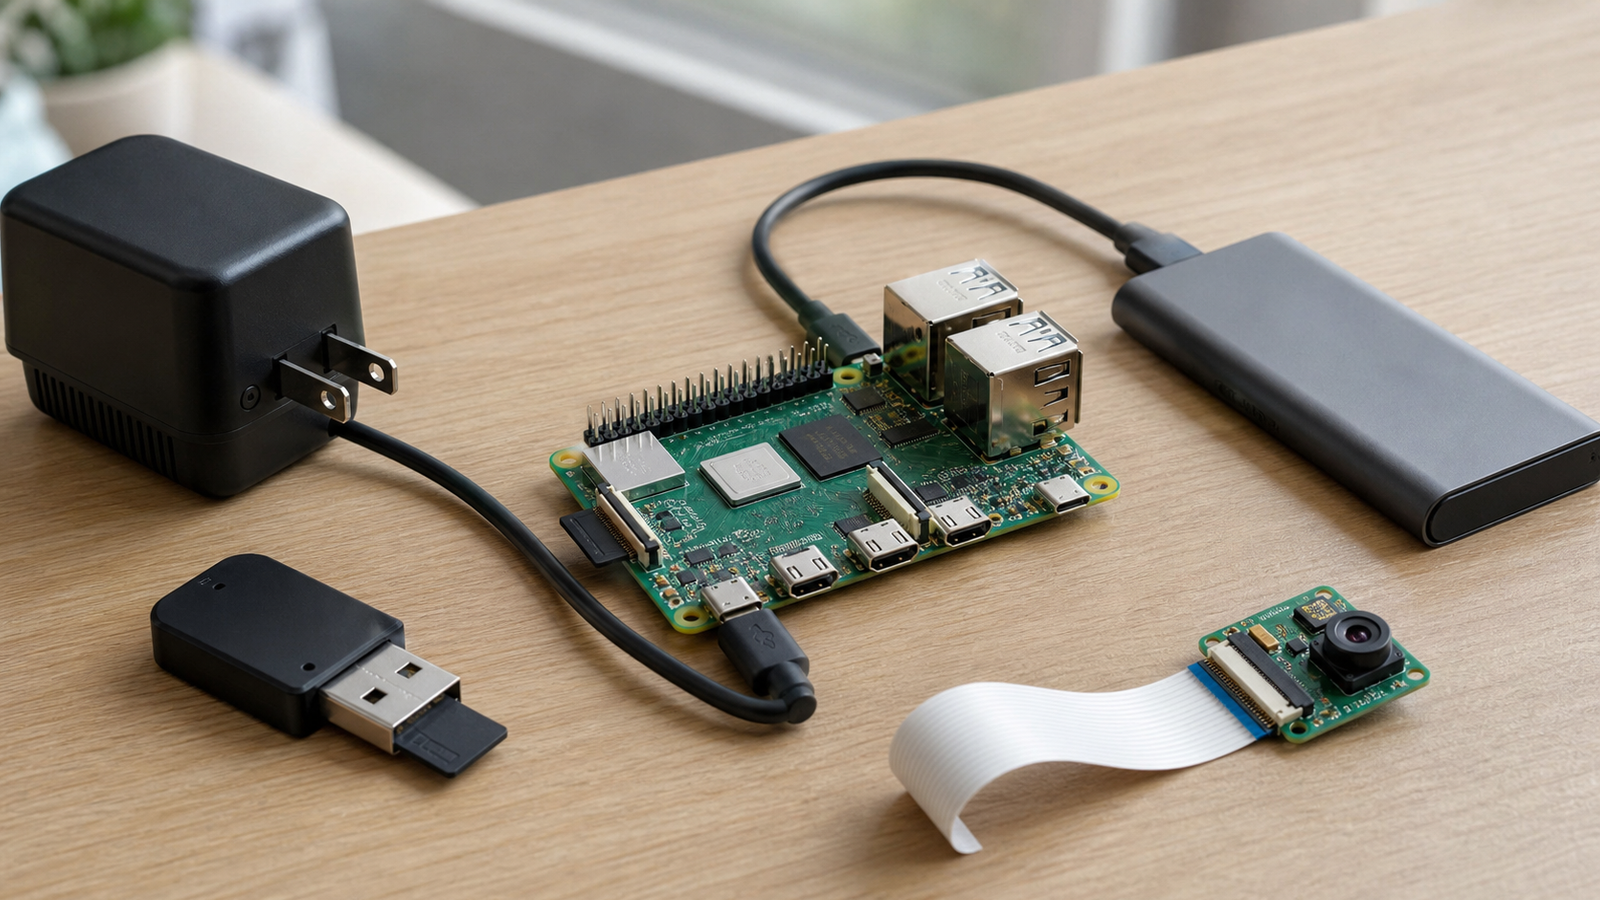
MicroSD is still the easiest classroom default. It is cheap, compact, and simple to clone. Teachers can keep known-good images for different lessons and hand students a fresh card when a setup gets messy. For a short object-recognition demo, a camera calibration lesson, or a first Linux-and-Python lab, that simplicity matters.
The discipline is to buy reputable cards, label them, keep spare images, and avoid treating a months-old student card as permanent project storage. If the lesson depends on repeatability, the card image should be part of the lesson materials.
When a USB SSD is worth it
A USB SSD makes more sense when the project behaves like a small workstation: datasets, frequent package changes, video clips, logs, checkpoints, or repeated write-heavy experiments. It can also make rebuilds less painful when multiple students share a kit across a semester.
The tradeoff is setup complexity. The SSD needs a stable cable, enough power, a mount or case, and a clear rule for which drive belongs with which board. A dangling storage drive can create failures that look like AI bugs but are really cable or power problems.
Buyer checklist
- Lesson length: one-period demo favors microSD; semester project favors SSD.
- Write load: logging frames, datasets, or repeated installs pushes toward SSD.
- Rebuild plan: keep a known-good image for either storage choice.
- Power: use a supply that can handle the board and attached devices.
- Cables: label the tested USB cable and keep it with the kit.
- Backups: copy irreplaceable datasets and project files off the classroom device.
TVG recommendation
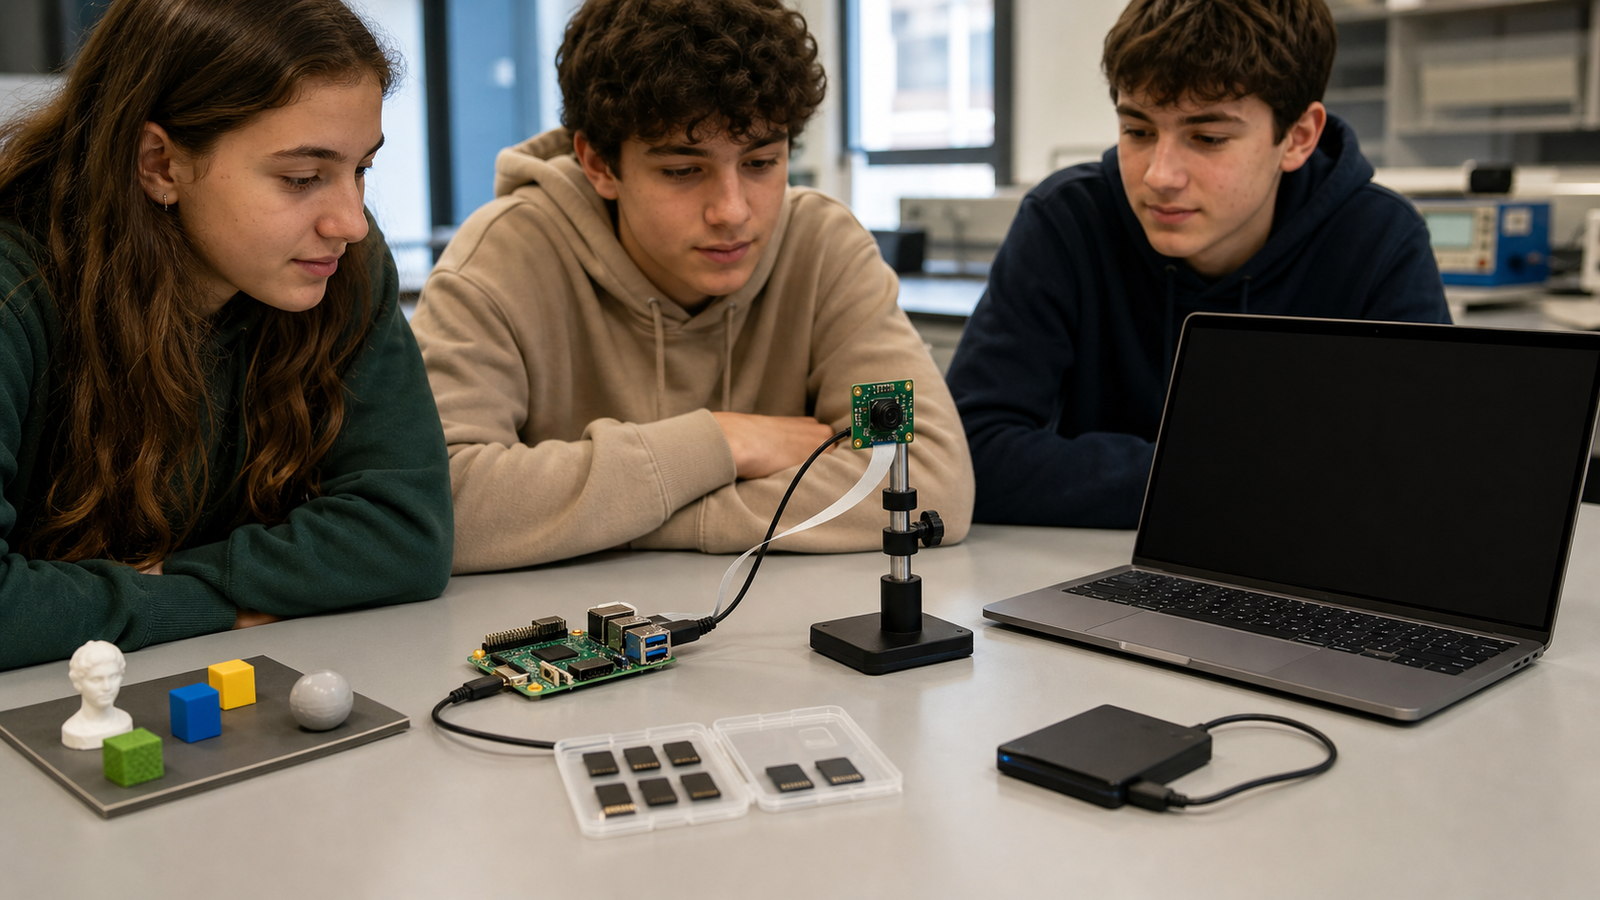
Start microSD for introductory Raspberry Pi AI lessons because it keeps the kit simple. Standardize on USB SSDs for advanced classes, repeated demos, or projects that collect meaningful data. The best choice is the one the teacher can image, label, test, restore, and explain.
This article pairs with TVG’s Raspberry Pi AI classroom validation checklist and our maker-lab NAS backup guide: local AI is more credible when storage and restore plans are part of the build.



