
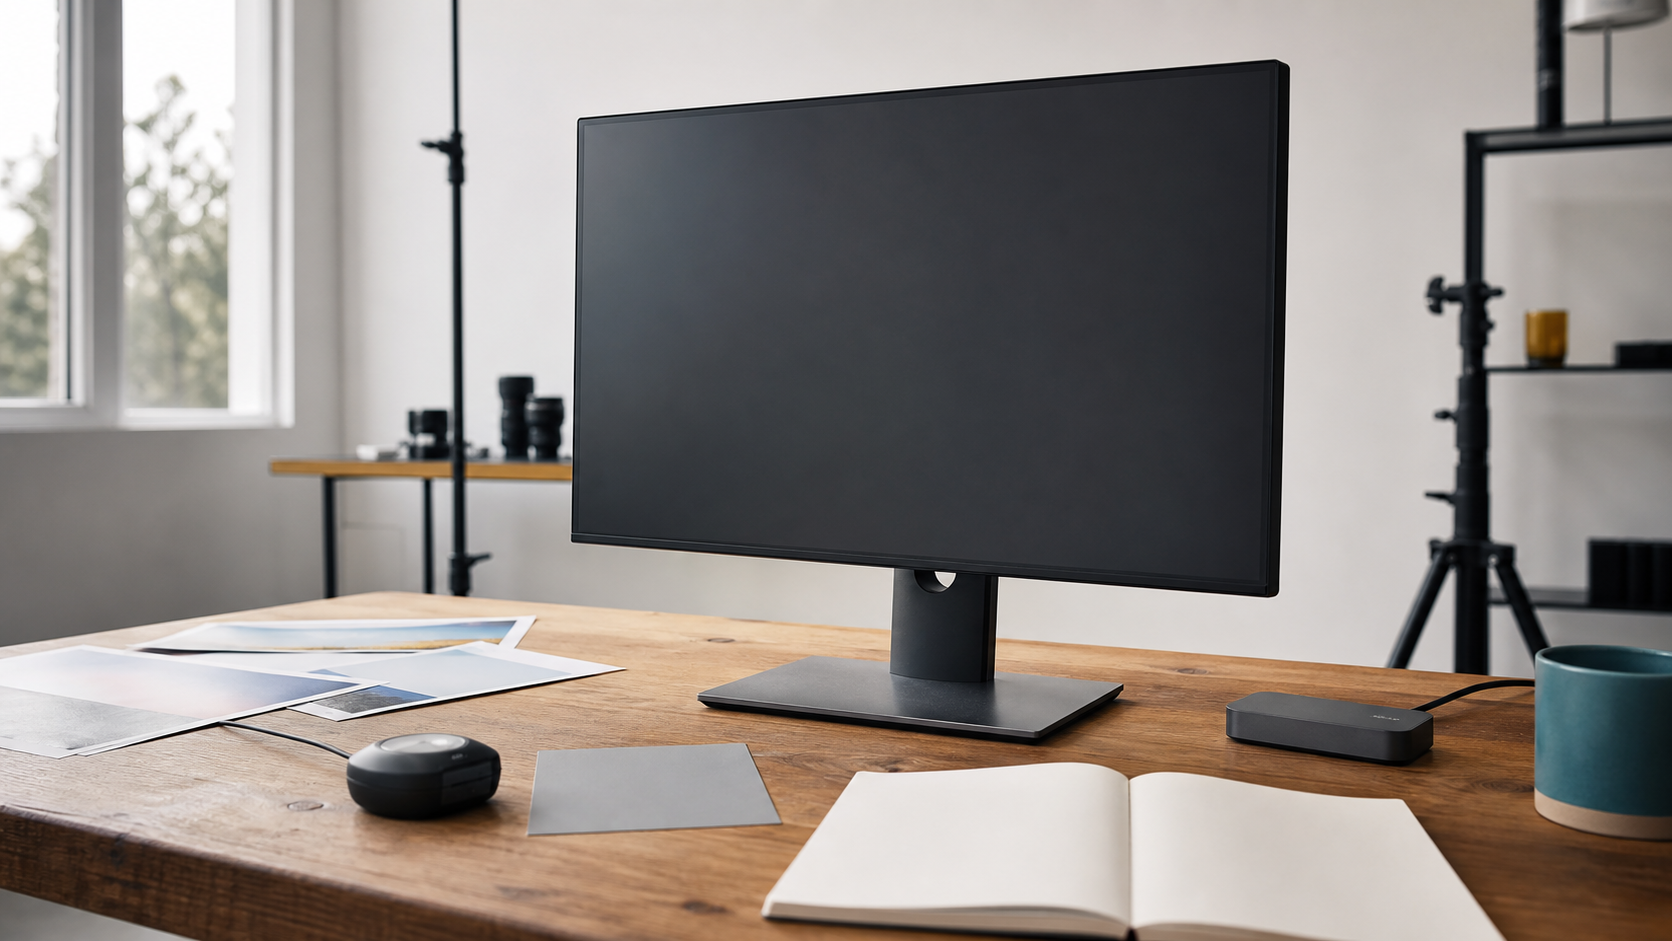
Disclosure: TVG has not hands-on tested the monitors mentioned here. This is a spec-first buyer evaluation for creator labs, maker spaces, robotics teams, and small studios deciding what to test before buying.
A portable monitor and a desktop reference display can both show the same timeline, CAD file, photo set, or robot-dashboard page. They do not solve the same problem. A portable display helps in the field. A color-focused desktop display helps when the work must be judged, graded, printed, or delivered consistently.
The buyer question is not “which screen is best?” It is “where will the screen be trusted?” A field cart, robot pit, travel kit, classroom bench, editing desk, and photo-print station put different stress on brightness, color, ports, power, mounting, calibration, and ergonomics.
Where portable monitors win
Portable displays make sense when the screen is part of a mobile workflow. Robotics teams can use them as driver-station companions, diagnostics displays, camera-monitoring panels, or setup screens for single-board computers. Creator teams can use them on travel shoots, in hotel rooms, at event tables, or beside a compact editing laptop.
TVG recently looked at portable monitors versus tablets for robot dashboards. The same principle applies here: mobility is valuable when the display is an operational tool. A thin USB-C monitor that can run from a laptop or power bank may be more useful during a field day than a more accurate desktop panel left at the studio.
But portable displays often make compromises. Many have limited brightness, weaker stands, fewer input options, less uniform backlighting, and limited hardware calibration support. Some rely on a single USB-C connection for power and signal, which is convenient until the host device cannot supply enough power or the cable is unreliable.
Where desktop reference displays win
Desktop creator monitors are built for a different trust model. The best examples prioritize gamut coverage, calibration controls, panel uniformity, matte or low-reflection surfaces, predictable ergonomics, and stable connectivity. Those features matter for photo editing, video color decisions, product documentation, print proofing, and any workflow where the final image cannot be judged on a random laptop panel.
BenQ’s PhotoVue line is a useful public example of the spec pattern. The BenQ SW272Q page lists a 27-inch 2K Adobe RGB display with USB-C power delivery, color-focused certifications, and support for calibration software. The BenQ SW272U page describes a 27-inch 4K version aimed at photographers and video editors, with Adobe RGB, P3, and sRGB coverage claims plus a 16-bit 3D LUT.
Those details are not an endorsement of one brand. They show the checklist a lab should apply to any serious desktop display: color-gamut claims, calibration path, uniformity support, anti-glare treatment, input options, USB-C power, stand adjustment, warranty, and documented software support.
Calibration is the dividing line
If a screen is only used for monitoring a robot dashboard or checking whether footage is roughly framed, calibration may be less important than durability and easy setup. If the screen is used to judge color, exposure, print output, or deliverable video, calibration becomes central.
Hardware calibration and LUT support allow a monitor to hold a controlled profile more reliably than visual adjustments alone. Software ecosystems such as Calman and manufacturer tools can matter, but the practical test is whether the lab has a repeatable calibration routine. A colorimeter in a drawer is not a workflow; a scheduled check with saved profiles is.
For student teams and maker labs, the middle path is often best. Use portable displays for capture, control, and troubleshooting. Keep one reliable calibrated desktop screen for final edits, documentation images, sponsor media, portfolio shots, and product photos. That prevents every mobile screen from pretending to be a reference monitor.
Ports and power decide daily usability
Portable screens often advertise simple USB-C operation, but labs should test more than “does it turn on?” Check whether the screen works with the actual laptops, mini PCs, tablets, and single-board-computer adapters in the lab. Test power draw, cable length, hub compatibility, HDMI fallback, and whether brightness drops when running from battery.
Desktop creator displays raise a different set of questions. A USB-C monitor with 90W power delivery can simplify a laptop-editing desk, but only if the lab’s laptops accept that charging level and the display’s USB hub behaves reliably with card readers, colorimeters, audio devices, and external drives. If the monitor becomes the desk dock, it should be tested like a dock.
This connects directly to TVG’s guides on mobile maker-lab cable kits and field backup gear. Display reliability is often a cable, hub, power, or reader problem wearing a screen-shaped mask.
What TVG would test before buying
- Color workflow: Can the display be calibrated with the lab’s colorimeter and software? Are profiles easy to switch and document?
- Brightness and reflection: Is it usable under classroom lights, event halls, field tents, or studio daylight?
- Uniformity: Do photos and video look consistent across the panel, especially near corners?
- Port behavior: Does USB-C carry power, video, and data reliably with the actual host devices?
- Mounting and ergonomics: Can the screen sit safely on a robot cart, editing desk, or crowded bench?
- Failure plan: If the display, cable, or hub fails during an event, what is the fallback?
Buyer recommendation
Choose a portable monitor when the display is a field tool: setup, monitoring, dashboard viewing, quick review, or travel editing where compactness matters more than reference-grade color. Choose a desktop creator display when the screen is part of the decision chain: editing, grading, print proofing, product documentation, portfolio output, or sponsor-ready media.
For many creator labs, the strongest setup is not one expensive screen for everything. It is a two-tier workflow: affordable portable displays for operational use and one carefully calibrated desktop monitor for final review. That structure keeps field work flexible without pretending every mobile panel is trustworthy for color.
TVG Take
A display purchase should be evaluated like lab equipment. If the screen controls a robot, check latency, mounting, power, and cable strain. If it judges images, check calibration, gamut, uniformity, and profile management. If it does both, separate the jobs before buying.
The mistake is buying by resolution alone. A 4K panel with weak ergonomics and no reliable calibration path can be worse for a lab than a lower-resolution screen with documented color behavior, solid ports, and a workflow the team actually follows.




That’s a really helpful breakdown. I’ve been struggling with choosing a screen for my 3D printing projects – it’s great to see the considerations laid out so clearly.
Has anybody also faced challenges to resolve such Suno artifacts in their machine-generated songs? suno audio cleaner I detected that this AI imperfections can significantly damage the overall audio output, above all with vocal tracks sounding unnatural. To address this, I have started using a removal tool to enhance the AI music files and consistently eliminate sound issues from these Suno songs, which serves to improve both the sound quality and detail.
For people in need of a straightforward method to fix their Suno audio quality challenges, there are a few no-cost audio cleaners and specialized cleaners listed online that can function as a dedicated audio cleaner or voice enhancer. Such tools work as an automated artifact remover and can help get your vocals sound lifelike. Should you wish to explore them, here is a practical option featuring an online free AI music cleaner and can assist with track mastering and boosting music quality without much hassle.